Showing posts with label Sample Mini Card. Show all posts

Sunday, October 11, 2026

Sunflower Thank You Ever So Much

Sunflower Thank You Ever So Much
I still cannot help but be inspired by the colors and images in Hand Stamped Sentiments Inspiration Challenge #498 and Sunday Stamps Challenge - SSC396 Autumn Whispers, as shown below, again, especially the sunflower, even though I have just made a sunflower-themed card before, Sunflower Just Saying Hello. 

So, I decided to make another card using the colors and sunflower from these challenges' inspiration images. Instead of 'hello' and 'hi' cards, I made a 'thank you' card since they are out of stock in my stash.

For this card, I am applying Freshly Made Sketches #757 - A Sketch by Jen M, as shown above.

The sunflower image is stamped onto a white cross-stitched rectangle of cardstock and colored using the Copic markers. Then, it is trimmed to match the sketch, as shown above. Before it is pasted onto a craft cross-stitched rectangle of cardstock, the edges are distressed in brown.

Close-up: Cross-stitched rectangle with sunflower and sentiment
Two (2) small strips of dark green are attached to the top and bottom of the sunflower strip to make it more highlighted and match the card base color. The sentiment is stamped at the bottom of the craft cross-stitched rectangle of cardstock.

On a dark green card base, a yellow stripe pattern paper is attached to it, as shown in the sketch above. Then the craft cross-stitched rectangle with the sunflower image and sentiment is attached to the card base, as shown in the sketch above.

Close-up: Glitter on the sunflower petals
For finishing, the sunflower petals were added with some glitter to make them sparkle and shine.

This card is entering the challenge(s) organized by:
1) Freshly Made Sketches #757 - A Sketch by Jen M (ends by 12 October 2026)

Supplies used:
Stamp used:
1) Unbranded Sunflower (France)
2) Papertrey Ink (PTI) Boutique Borders

Dies used:
1) Unbranded Cross-Stitched Rectangles

Sunflower Just Saying Hello

Sunflower Just Saying Hello
Ever since the last card, Hello and Hi Stencil Background with Hi Focal, I cannot stop myself from being inspired by the colors and images in Hand Stamped Sentiments Inspiration Challenge #498, and Sunday Stamps Challenge - SSC396 Autumn Whispers, as shown below, especially the sunflower. Thus, I decided to make another card using the colors and the sunflower in these challenges' inspiration images.
Hand Stamped Sentiments Inspiration Challenge #498
Sunday Stamps Challenge - SSC396 Autumn Whispers

For these cards, I am using Jennifer McGuire's split card technique whereby one (1) image is trimmed into two (2) to make two (2) cards at once. Instead of two (2) images, I trimmed into three (3) images because of the card size, which is 2.8" x 4". I even thought about what I should make with the extra image, which has almost half of the sunflower image on it. Well, that can wait for the latter.

The 1.7" strip with half of the sunflower
The sunflower is stamped onto larger-sized watercolor cardstock so that the split card technique can be applied. After being colored using watercolors, the image is trimmed, resulting in two (2) 2.5" x 3.7" pieces and a 1.7" strip, as shown above.

The sentiment is stamped onto the cardstock, with one at the top right corner and another at the top left corner, as shown in the photo above. Then, they are attached to the yellow cross-stitched rectangle cardstock.

Close-up: Glitter on the sunflower petals
The card is finished by adding some glitter onto the petals to make them sparkle and shine.

This card is entering the challenge(s) organized by:
2) Little Red Wagon Challenge #879 - Stitches (ends by 13 October 2026)

Supplies used:
Stamp used:
1) Unbranded Sunflower
2) Hero Arts CL272 All Occasion Messages

Dies used:
1) Unbranded Cross-Stitched Rectangles

Thursday, October 08, 2026

Hello and Hi Stencil Background with Hi Focal

Hello and Hi Stencil Background with Hi Focal
Over the past few days, I have been getting my card-making mojo back by making and posting cards. 😁🤩

For today's cards, I am adopting the sketch from the Atlantic Hearts Sketch Challenge (AHSC) - Sketch 702, as shown above, where I made three (3) cards with different borders using the same sketch.

It has been a while since I used a stencil on my projects, and when I saw the Atlantic Hearts Sketch Challenge (AHSC) - Sketch 702, I wanted to use the new unbranded Hello Hi stencil in my stash for the background. Just perfect for the cards I am making.

Hand Stamped Sentiments Inspiration Challenge #498
I was also inspired by the colors in Hand Stamped Sentiments Inspiration Challenge #498, as shown above, and Sunday Stamps Challenge - SSC396 Autumn Whispers, as shown below.
Sunday Stamps Challenge - SSC396 Autumn Whispers

On a white cardstock, I used Tim Holtz Distress Ink in Mustard Seed, Spiced Marmalade, and Tea Dye to color the stencil in three (3) layers. Then, the background was trimmed to fit the inside of the three (3) cards with different borders.

Close-up: Glitter on the focal word 'Hi'
The word 'Hi' is die-cut using green and blue cardstock, matching the three (3) cards with different borders. The cards are finished by adding some glitter to the word 'Hi' to make it sparkle, shine, and be the focal point.

This card is entering the challenge(s) organized by:

Supplies used:
Stencil used:
1) Unbranded Hello and Hi

Dies used:
1) The Greeting Farm Hi Hello Dies
2) Unbranded Faux-Stitched Rectangles
3) Unbranded Lace Border Rectangles
4) Unbranded Cross-Stitched Rectangles

Wednesday, October 07, 2026

Fairy Hi

Fairy Hi
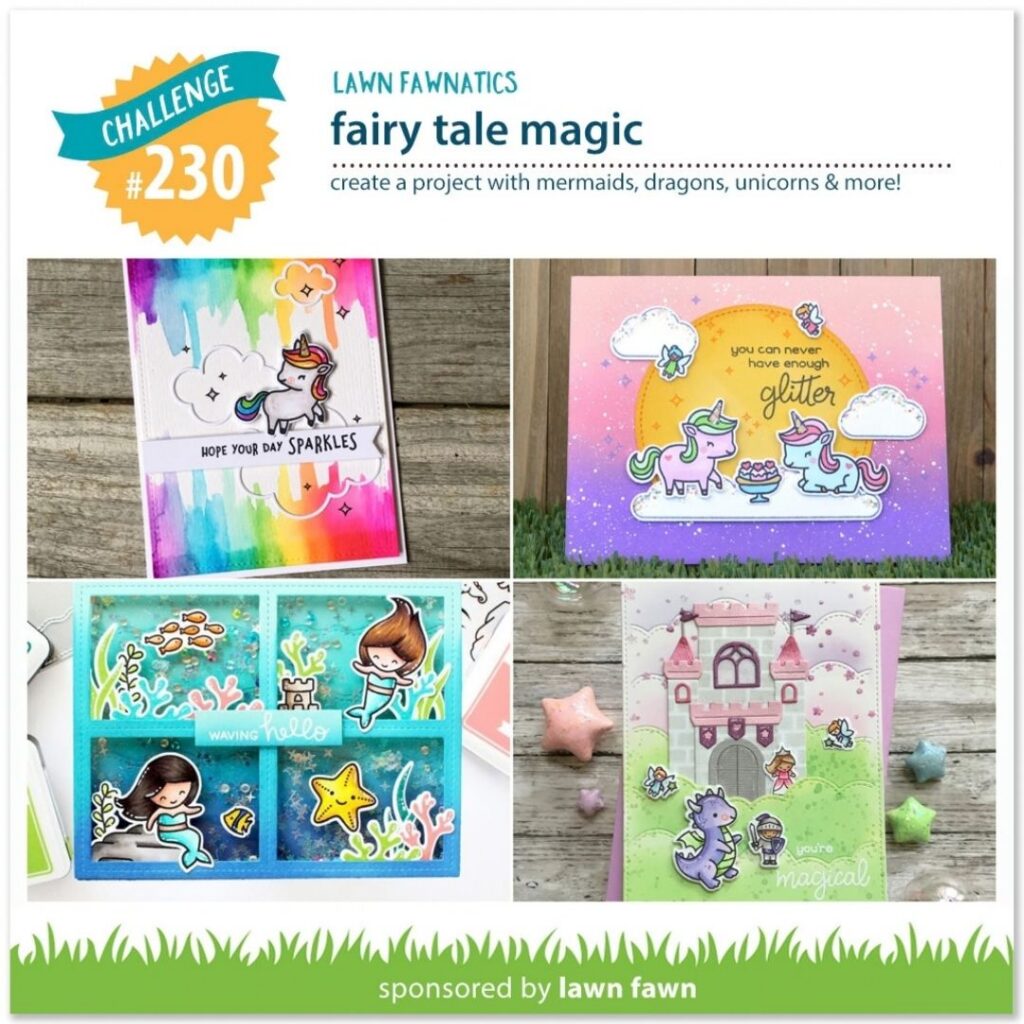
This week, Lawn Fawnatics Challenge #230 is Fairy Tale Magic (as shown below). How can I miss this challenge when Lawn Fawn has been my favourite stamp brand all this time?
The fairies and fairy houses are stamped onto white cardstock and colored using Copic markers. Once done, they are die-cut using the coordinating dies. They are layered with another layer of cardstock to add dimension. This follows Jennifer McGuire's style of creating dimension, which is also good for using up those scraps. The small talk bubbles and 'hi' sentiment are stamped onto white cardstock and hand-trimmed since there are no coordinating dies.

The images are pasted onto the three (3) craft cardstock cards, die-cut with different borders. 

Close-up: Glitter on fairy's wings
The cards are finished by adding some glitter to the fairies' wings and the petals of the fairy house.
Close-up: Glitter on the petals of the fairy house

This card is entering the challenge(s) organized by:

Supplies used:
Stamp used:
1) Lawn Fawn Fairy Friends
2) Lawn Fawn A Birdies Tolds Me (for the small talk bubble)
3) Lawn Fawn Gnome Sweet Gnome (for the sentiment 'hi')

Dies used:
1) Lawn Fawn Fairy Friends Coordinating Dies
2) Unbranded Faux-Stitched Rectangles
3) Unbranded Lace Border Rectangles
4) Unbranded Cross-Stitched Rectangles

Monday, October 05, 2026

Many Hands Hello

Many Hands Hello
Continuing to make my 'hello' and 'hi' cards to help with networking, connections, and people remembering me when I join the new company. I am keeping these cards postcard-style to make storage and distribution easier.

Try a Sketch On Tuesday (TSOT) Challenge #705
For today's cards, I am using the sketch from Try a Sketch On Tuesday (TSOT) Challenge #705, as shown above, where I made three (3) cards with different borders using the same sketch.

The hands image is stamped onto the three (3) die-cut cards with different borders. The image is colored, alternating the colors with different 'hands' in the three (3) images.

Finally, the 'Hello' sentiment is stamped at the bottom of the hands image, as per the sketch. Some color pearls are added to the bottom of the sentiment.

This card is entering the challenge(s) organized by:
1) Try a Sketch On Tuesday (TSOT) Challenge #705 (ends by 11 October 2026)

Supplies used:
Stamp used:
1) Avery Elle Hats Off
2) Unbranded Sentiments (for the sentiment 'hello')

Dies used:
1) Unbranded Faux-Stitched Rectangles
2) Unbranded Lace Border Rectangles
3) Unbranded Cross-Stitched Rectangles

Thursday, October 01, 2026

Tulips Hello

Tulips Hello
It has been a while since I posted any card-making creations, mainly because I rarely make them due to work. When I make them, I just make a simple and quick card, and did not do any posting.

I will join a new company soon, and I am thinking of distributing some 'hello' and 'hi' cards to help with networking, connections, and people remembering me. So I will make some simple cards (no folding) to make storage and distribution easier.

I am adopting the sketch from CAS Colours and Sketches Challenge #595, as shown above, where I made three (3) cards with different borders and colors for the images using the same sketch.


After the tulip images are colored using Copic markers, they are die-cut using the coordinating dies. Then, they are pasted onto the three (3) craft cardstock cards with different borders. The word 'hello' is stamped onto cross-stitched white circles. The circle edges are distressed in matching colors of the tulip images.

This card is entering the challenge(s) organized by:
1) CAS Colours and Sketches Challenge #595 (ends by 12 October 2026)
3) Simon Says Stamp Challenge - Anything Goes (ends by 7 October 2026)

Supplies used:
Stamp used:
1) Pretty Pink Posh Tulips
2) Lawn Fawn A Birdie Told Me ( for the sentiment 'hello')

Dies used:
1) Pretty Pink Posh Tulips Coordinating Dies
2) Unbranded Faux-Stitched Rectangles
3) Unbranded Lace Border Rectangles
4) Unbranded Cross-Stitched Rectangles

Saturday, September 17, 2016

Happy Retirement Flower Girl

Happy Retirement Flower Girl
Making this card for my daughter's Morale teacher who is retiring next week.

I am making a mini card, size of a gift card as I plan to put this card inside a gift bag with a small present. Thus, I keep this card clean and simple due to its limited size.

Close-up: The girl holding the bunch of flowers
First, a girl holding a bunch of flowers image is stamped on a white card stock and colored using Copic markers. Then, it is attached onto a red-pink plaid pattern paper.

Close-up: Sentiment on vellum
The sentiment is customized using alphabet stamp and stamped onto a vellum. It is attached onto the girl image at the bottom. Then, the whole panel is attached onto a green card base.

Close-up: Shimmer of the flowers and pink flower shaped gem
As final touch, some shimmer is added to the flowers and a pink flower shaped gem is attached onto the girl head.

Dimension : Gift card or 3.25" x 2.25"
Type : Vertical fold
Inlay : None

This card is entering the challenge(s) organized by :

Supplies used:
Copic marker used: C5, C6, BG01, BG05, BG45, BV11, BV13, E11, E51, R02, RV14, YR16 and V15

Tuesday, July 12, 2016

Boutique Border Sending Sincere Thanks

Boutique Border Sending Sincere Thanks
This is my four and last card of the day in my card making quest for my Thailand colleagues and this one is for another female colleague.

Catch the Bug Challenge Blog - Stella Says Sketch Challenge #411
For this mini card, I am adopting Catch the Bug Challenge Blog - Stella Says Sketch Challenge #411 as shown above which is perfect to integrate City Crafter Challenge Blog Week 320 - On the Border as well due to the blank space on the right of the sketch.


Close-up: The boutique border sentiment
The boutique border is die cut using watercolor paper. Then, the sentiment is stamped and embossed using white embossing powder. Distress inks are added to the surface of the boutique border to make the embossing sentiment more attractive.

A piece of pink parchment card stock is trimmed according to size and attached onto a purple card base as shown in the sketch. A white polka dots with red background is layered onto the pink parchment card stock follow by the boutique border sentiment using foam tape.


Close-up: The purple pearls in descending sizes
As final touch, three (3) sizes of purple pearls are attached onto the right bottom of the pink parchment card stock as shown in sketch.

This card is entering the challenge(s) organized by:

Supplies used:

Flower You + Me = Friendship

Flower You + Me = Friendship
This is my third card of the day in my card making quest for my Thailand colleagues and this one is for a female colleague who is bringing me the Thailand's snacks.

Atlantic Hearts Sketch Challenge - Sketch #168
For this mini card, I am adopting Atlantic Hearts Sketch Challenge - Sketch #168 as shown above. However, I clockwise turn the sketch to accommodate the sentiment.

I decided to make my signature 3D flower for this card. I stamp flower image three (3) times and colored them in Copic markers. One of them is die cut using the matching die while the other two (2) are trimmed accordingly to the portion I need.
Close-up: The 3D flower
On a yellow card base which has been layered with plaid pattern paper, a craft mini doily die cut is layered as shown in the sketch. Then, the base of the flower that die cut with matching die is attached onto the craft mini doily die cut. Follow by the second and third layer of the flower with dimensional foam.

Close-up: The sentiment
The sentiment is stamped on a tag in which the header of the tag is being trimmed off before attaching onto the card base as in sketch.

Close-up: Shimmer on the flower
As final touch, I add some shimmer onto the flower to make it all shine and nice! Four (4) white gems are also added below the sentiment.

This card is entering the challenge(s) organized by:
2) Crafty Cardmakers #168 - Bling It Up (ends by 23 July 2016)

Supplies used:
Copic markers used: R29, RV17, RV25 and RV29

Flamingo Thanks

Flamingo Thanks
This is my second card of the day in my card making quest for my Thailand colleague and this one is for a female colleague.

Close-up: Flamingo
On a white tag, the flamingo image is stamped and colored with Copic markers. It is then attached onto a yellow card base that has been layered with colorful stripes pattern paper.

Close-up: Sentiment on a fishtailed banner
On a blue strip, the sentiment is stamped and at the right end, it is fishtailed. It is attached onto the top of the tag using foam tape.

Close-up: Shimmer on the flamingo
Finally, three (3) pink gems are added to both the left bottom and top right corner of the card by forming a 'L' shape. Some shimmers are added to the flamingo to make it more pop.

This card is entering the challenge(s) organized by:
1) Cards in Envy - Stripes (ends by 17 July 2016)
2) Crafty Cardmakers #168 - Bling It Up (ends by 23 July 2016)
3) MarkerPop Coloring Challenge #99 - Die Cuts (ends by 24 July 2016)

Supplies used:
Copic markers used: R20, RV14, RV23 and Y17

Chalkboard with Stencil Friends Like You Are Far and Few

Chalkboard with Stencil Friends Like You Are Far and Few
My colleague from Thailand is coming to Kuala Lumpur this Saturday for a vacation trip. However, I am regret that I do not have opportunity to meet her in person as my own personal schedule is crashing with her. I must say it is so sweet of her and other colleagues that I work with that they wanted to bring me some Thailand's snacks through her. Thus, I want to prepare some small gifts and cards to return the favor. I will pass them to another department colleague who will be meeting her instead.

I need to make a total of four (4) cards and this is my first. I made mini cards as it will be inserted into a favor organza bag.

For the first card, it is for a male colleague. I decided to use chalkboard technique and pair with stencil masking with distress ink.


Close-up: Chalkboard sentiment
A panel is die cut and the sentiment is stamped and embossed with white embossing powder. It is attached onto the top of a green card base before further smear with white pigment ink to make it more like a chalkboard.


Close-up: The masked design from stencil
Then, on a piece of white card stock, the stencil is layout and masked using distress inks. It is then trimmed according size and attached onto the bottom of green card base.

Finally, a star is die cut from a silver metallic card stock and attach onto the card in between the card stock using foam tape. Four (4) white pearls are also added to the four (4) corners of the frame to make it more decorative.

This card is entering the challenge(s) organized by:

Supplies used:

Sunday, July 03, 2016

Happy Birthday Cake Mini Card

Happy Birthday Cake Mini Card
My daughter is going to attend a small birthday party later in the afternoon. The birthday present has been prepared and the only thing missing is a card. Thus, I quickly pull out my crafty stuffs and make a mini birthday card for her.


On a white circle, the birthday cake with sentiment is stamped and colored using Copic markers.

While on a red lunchbox note die, a pink plaid pattern paper is attached onto it and the excess the trimmed. Then, the circle birthday cake is attached on top of it using foam tape as shown the sketch.

Close-up view of the birthday cake
As final touch, four (4) white pearls are added to cake decoration. Another two (2) sets of purple pearls that contain three (3) sizes are attached onto the card on the bottom left corner and upper right corner as in sketch.

This card is entering the challenge(s) organized by:

Supplies used:
Copic markers used: E23, E37, R81, R83, R85,V06 and Y35