|
| Monkey Thanks for Your Purchase |
 |
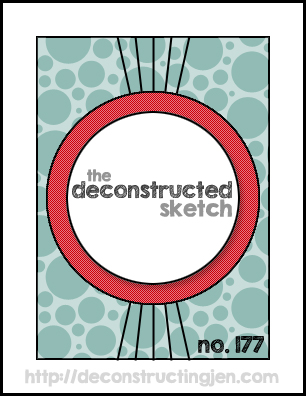
| Addicted to CAS - Challenge #52 - Sketch |
 |
| Close-up: Coconut tree with a monkey |
 |
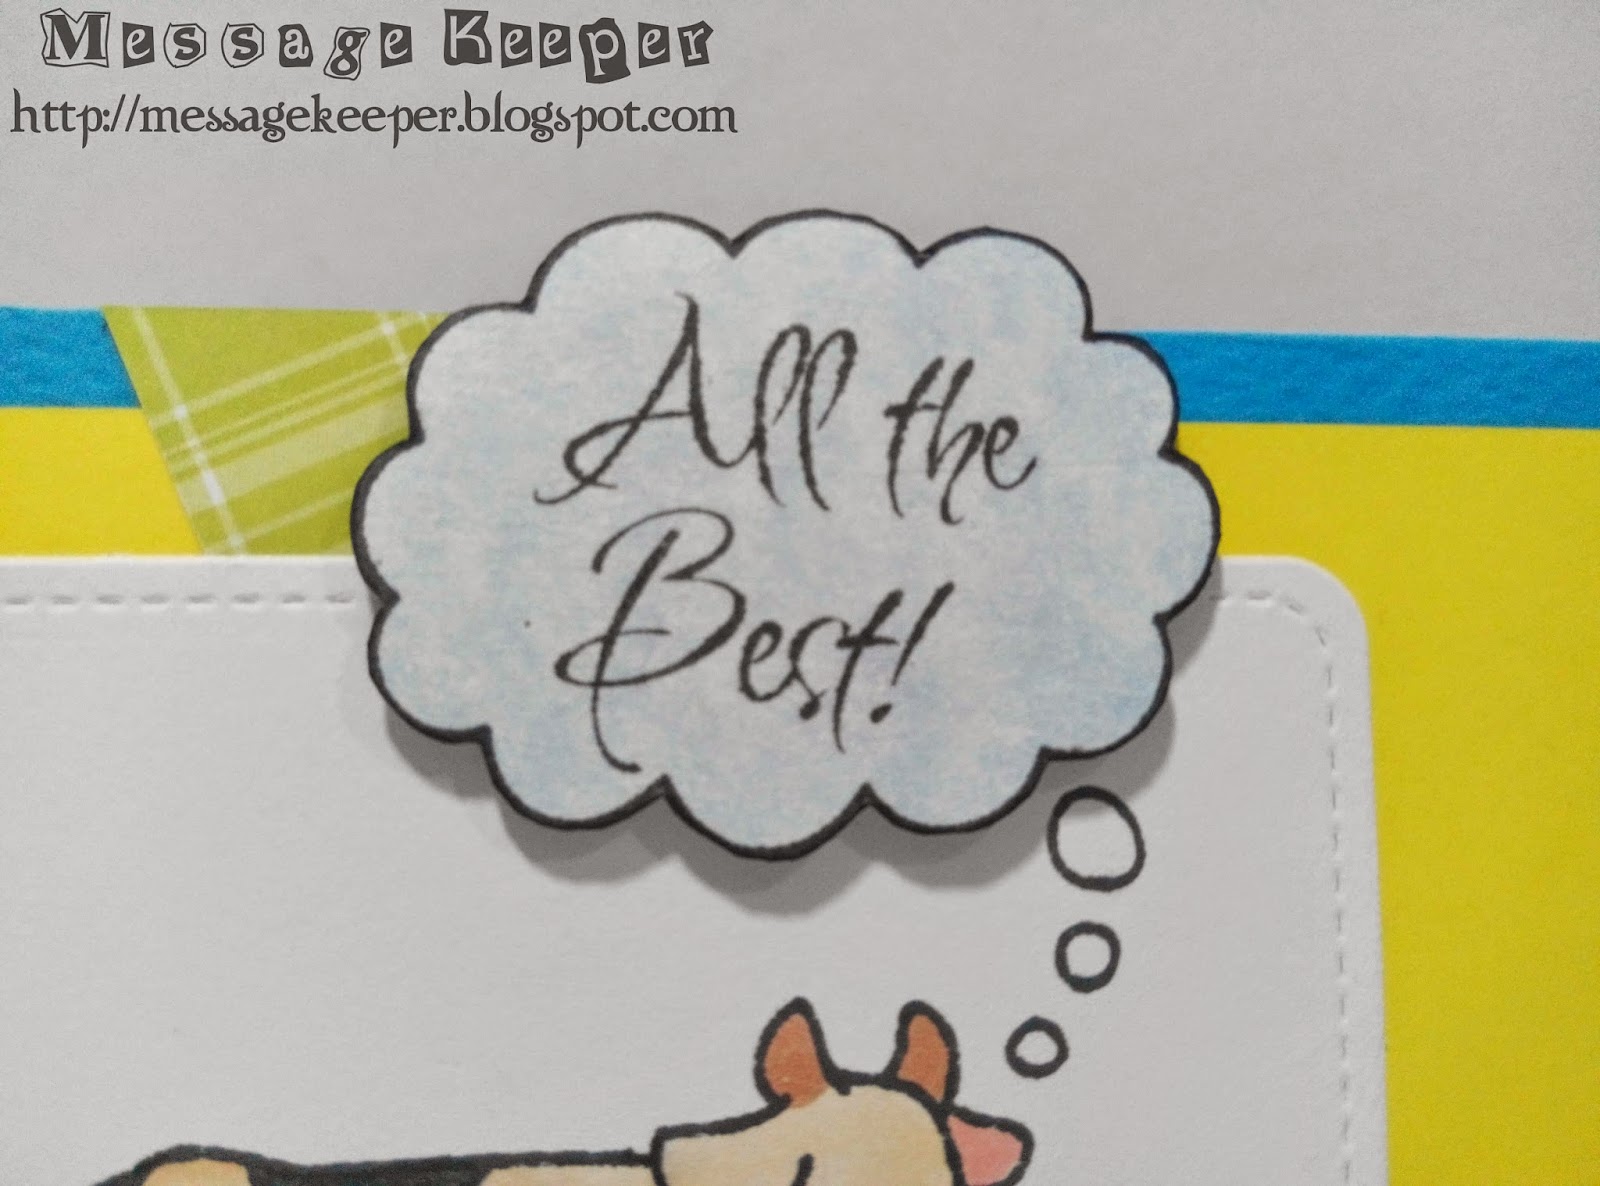
| Close-up: Speech bubble with sentiment |
Dimension : 10.16cm x 15.24cm or 4" x 6"
Type : Vertical fold
Inlay : None
This card is entering the challenge(s) organized by :
1) Addicted to CAS - Challenge #52 - Sketch (ends by 28 November 2014)
2) Sentimental Sundays Challenge #234 - Heartfelt Thanks (ends by 29 November 2014)
3) One Stitch At A Time - Challenge #224 - Anything Goes with Giving Thanks (ends by 29 November 2014)
4) The Friday Mashup Challenge - FM187 - It's All About the Weather! (ends by 03 December 2014)
Stamps and tools used :
Copic marker used : BG23, E11, E13, E21, E25, G17, YG03 and YG06