Sunday, December 26, 2010

Rabbit Wedding Wishes

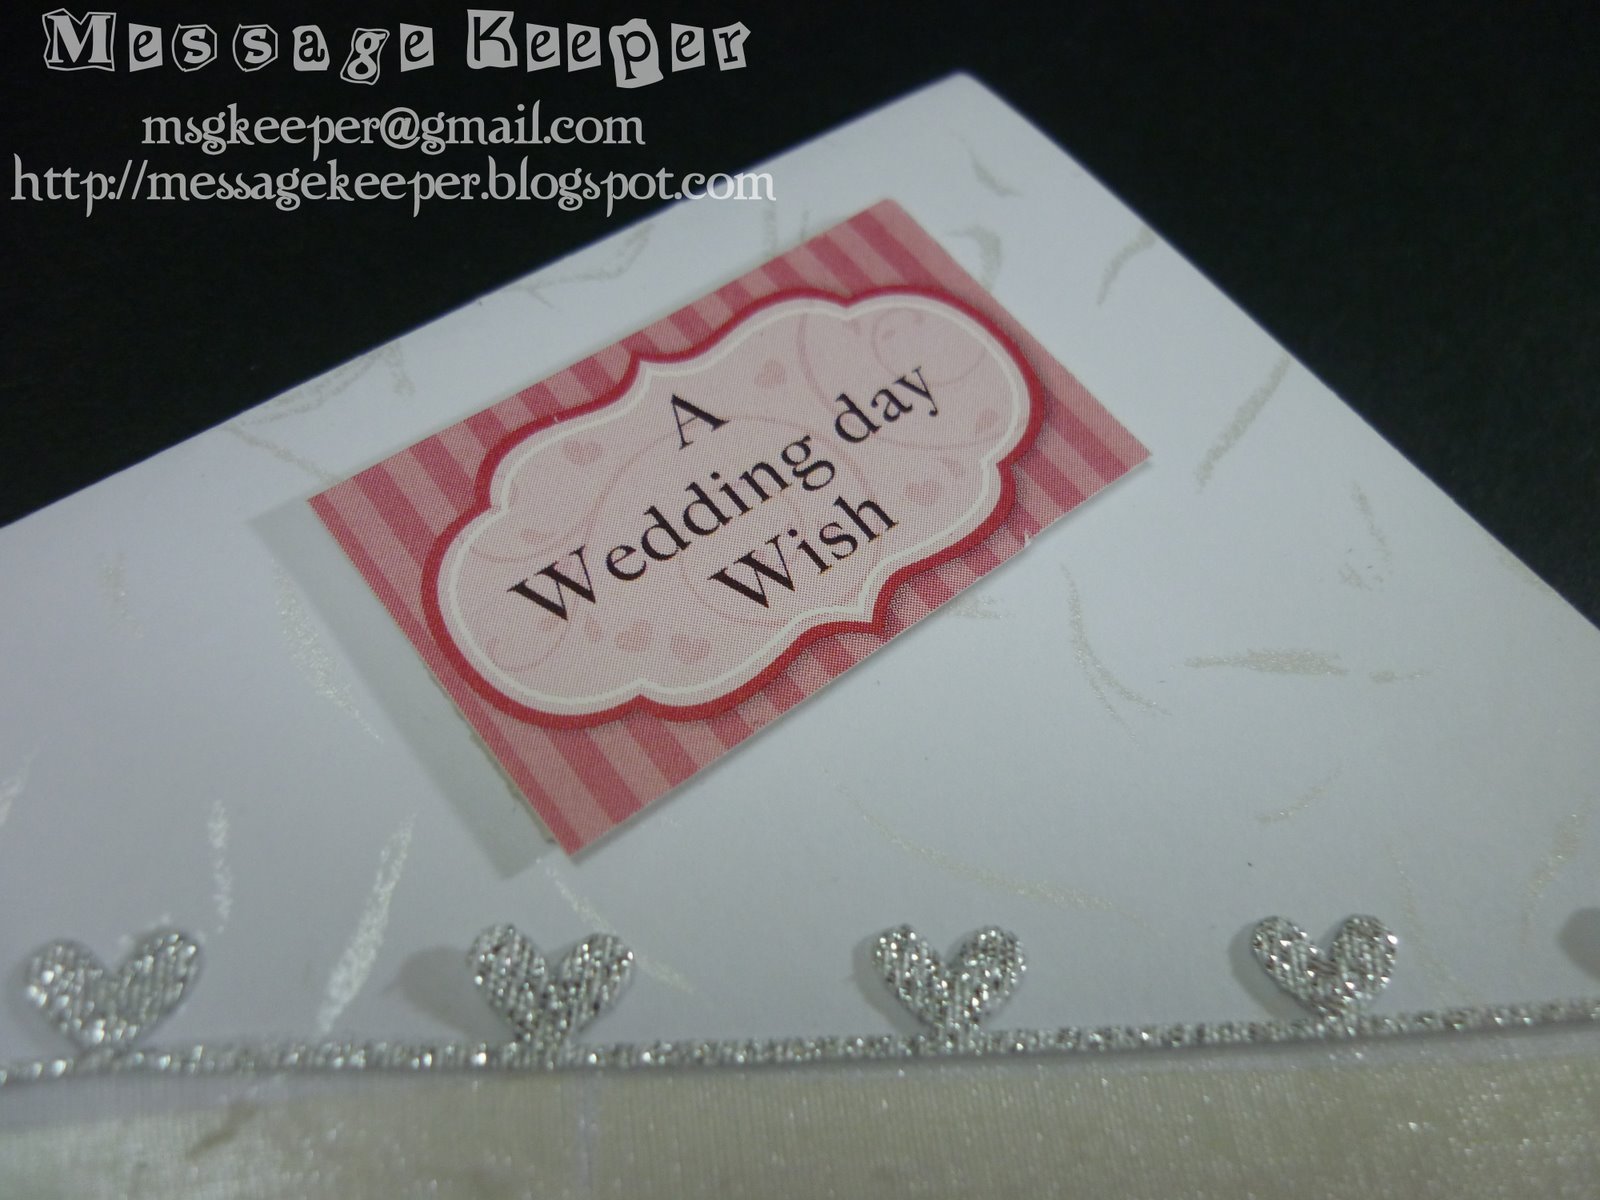
Rabbit Wedding Wishes card - Front
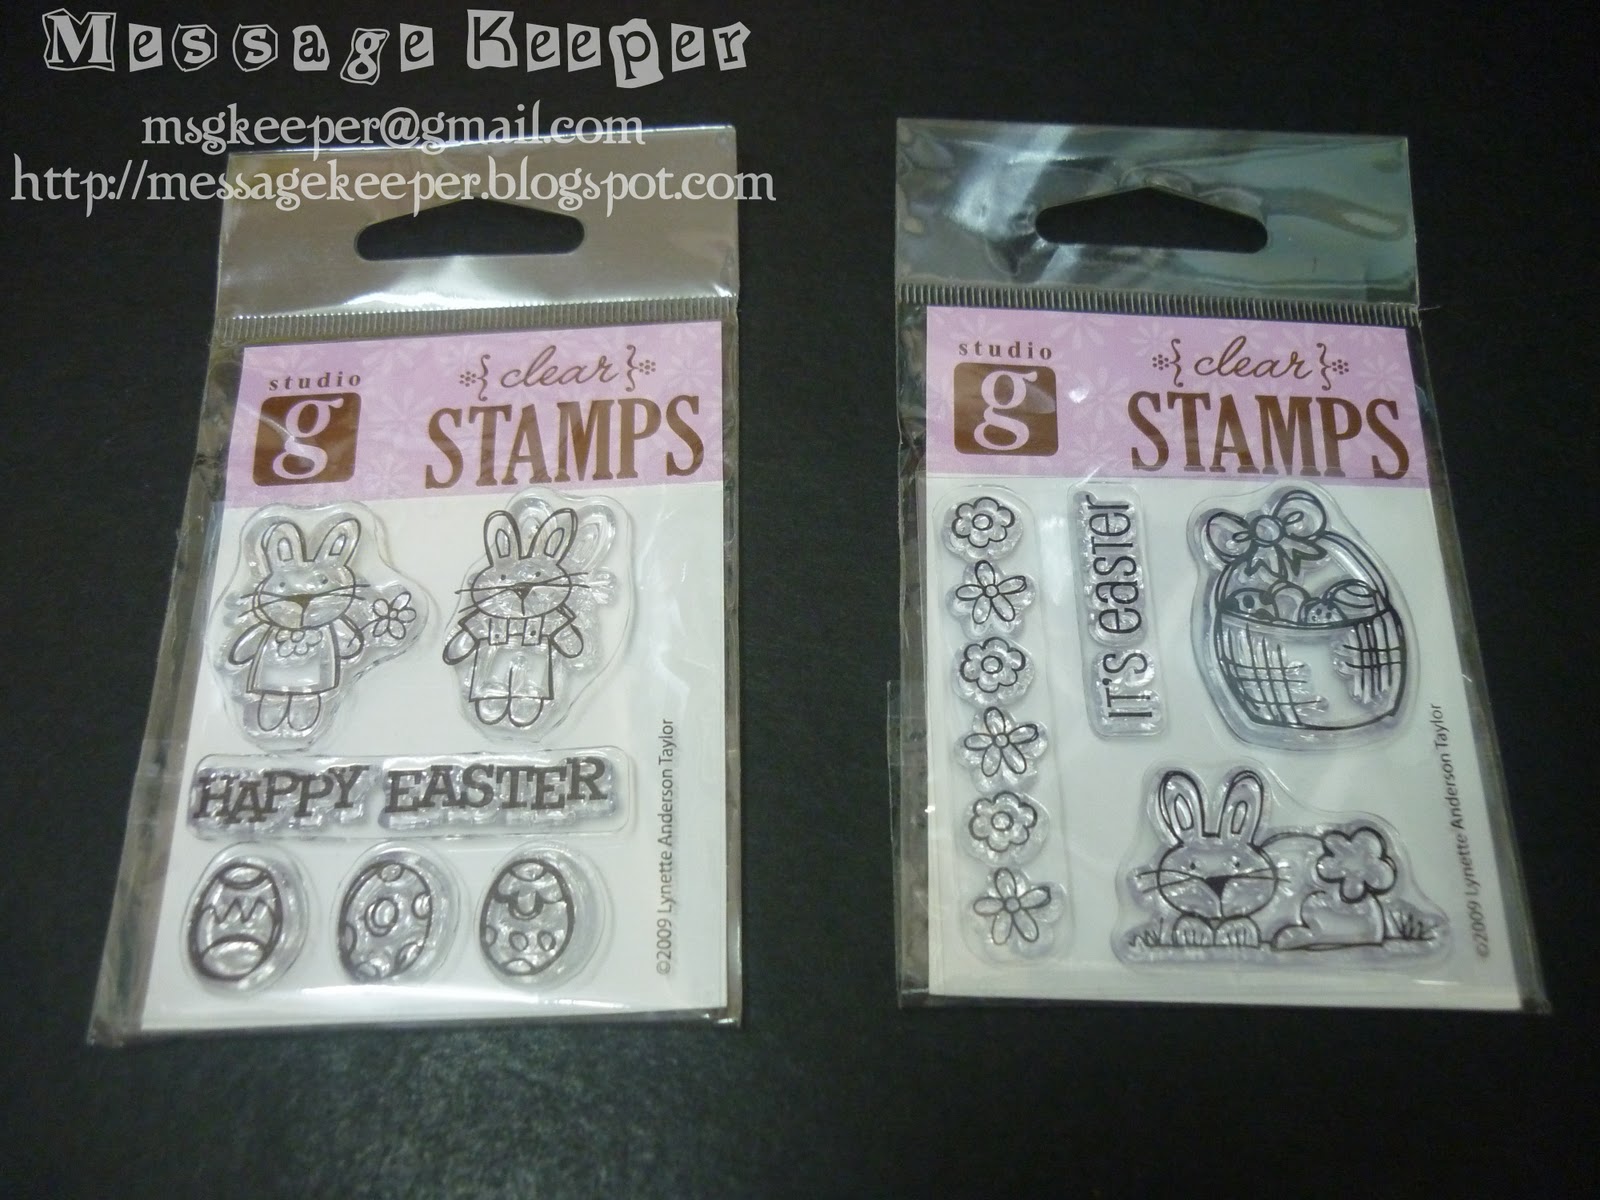
This card is made for an ex-colleague wedding using my new Studio G Series 29 VC0008 Girl and Boy Bunnies. This stamp set really perfect for wedding wishes card!


Truly Scrumptious Challenge #47 sketch
This card layout is inspirational from Truly Scrumptious Challenge #47 sketch/challenge as shown above with optional extra challenge, 'Frame It'.

Close-up : Girl bunny
The two (2) little bunnies from Studio G Series 29 VC0008 Girl and Boy Bunnies are stamped on white cardstock and their clothes are colored with red and purple to represent wedding occasion. The bunnies' body are being outlined using yellow marker instead coloring the whole body. Then, it is trimmed accordingly to its shape. 
Close-up : Boy bunny


Close-up : The 'Congratulations' message
A pink embossed cardstock is trimmed into 3" x 4.5". The word "Congratulations" from Hero Arts CL272 All Occasion Messsages is bended a little and stamped on the pink card using opera pink ink along the pink card. This would make the 'frame' for the image inside it.

Close-up : Red punched heart with yellow gem
A punched red heart is attached to a pink ribbon. A yellow gem is attached onto the center of the heart. The pink ribbon is then attached onto the middle of the pink card. However, only the ends are dead glued to the pink card leaving the red heart loosely.
Close-up : The red punched heart with yellow gem that can move loosely

Close-up : Pop-up bunnies
The girl and boy bunnies are attached on top of the pink ribbon ends using pop dots to create some dimension.

Close-up : The final finish
A pink cardstock is trimmed into 5.3" x 5.3". While the patterned paper from Moof with Chinese tradition 'double happiness' ('喜') wording is trimmed 5" x 5". the patterned paper is attached onto the pink card according to the sketch design. A gold ribbon with printed 'double happiness' in Chinese character, '喜' is attached across the patterned paper according to sketch. The partial assembled card is attached onto a red folded 5.5" x 5.5" square card. The assembled pink emboss card is then attached onto the patterned paper. 

Close-up : Pink circle with message 'L♥ve' and yellow gem
A pink circle is trimmed and stamped in black ink with 'L♥VE' from Hero Arts CL266 Mix and Match Elements which is perfect for this kind of occasion wishing. A yellow gem is added to the '♥' of the wording.

Close-up : Pink ribbon
A pink ribbon is attached to the gold ribbon with printed 'double happiness' in Chinese character, '喜' to finalize the sketch design.

Theme : Rabbit and Wedding Wishes
Title : Congratulations and L♥ve
Size : 13.97cm x 13.97cm or 5.5" x 5.5"

If you would like to have a similar design of these items or individual item, please e-mail us at msgkeeper@gmail.com for order. Please do include the color or theme you prefer, purpose of the item(s) (farewell, retirement, birthday and etc) and message (if any).

This card is entering the challenge(s) organized by :

Saturday, December 25, 2010

Welcome Baby Boy with Pram

Welcome Baby Boy with Pram card - Front
This is a card made for a baby boy full moon (one month old celebration of Chinese tradition).


Sketch Saturday Week #134 sketch
This card is inspirational from Sketch Saturday Week #134 sketch/challenge as shown above but did not manage to enter the challenge in time. 

The pram is self-made by trimming two (2) 1" circle from a blue cardstock. One of the circle is stamped with the checked flag from Hero Arts CL439 Kiss from the Sun using white ink while another is stamped with the dots background from Hero Arts CL266 Mix and Match Elements using brown ink. Then the checked design is further trim to about 3/4 size of the 1" circle to make the base of the pram. The dots background circle is trimmed into quarter to make the pram folding.
Close-up : The self made pram
The baby head is from INK97650 Inkadinkado Welcome Baby. The crown above the baby head to represent baby boy is from Hero Arts CL272 All Occasion Messages. Both of them are stamped on a white cardstock and colored and trimmed accordingly. 

Close-up : 'Welcome Baby!' message
A rectangular yellow cardstock is trimmed and stamped with 'Welcome Baby!' from from INK97650 Inkadinkado Welcome Baby at the four (4) edges of the yellow card to make the 'frame' effect as well as delivering the message. Then, the pram 'parts' are assemble onto the center of the yellow card. The baby head is purposely pop out from the pram. Two (2) silver buttons are attached to the bottom of the checked semi circle to make the pram stroller.

Close-up : The blue gems
The colorful dots patterned paper from Moof is trimmed rectangular and attached onto the folded cream card. Another faded jeans patterned paper is trimmed triangular and attached on top of the colorful dots patterned paper. A blue ribbon is attached vertically across the patterned paper. Finally, the yellow card is attached on top of patterned paper. Two (2) blue gems are attached on top right corner of the yellow card while another blue gem is attached at the bottom right corner of the colorful dots patterned paper (it is a bit invisible as the patterned paper is also colored dots based).

Theme : Baby
Title : Welcome Baby!
Size : 10.16cm x 13.97cm or 4" x 5.5"

If you would like to have a similar design of these items or individual item, please e-mail us at msgkeeper@gmail.com for order. Please do include the color or theme you prefer, purpose of the item(s) (farewell, retirement, birthday and etc) and message (if any).

This card is entering the challenge(s) organized by :

Wednesday, December 22, 2010

New Addition Stamps - Studio G Stamp Sets

Next year Chinese New Year is the Year of the Rabbit. Thus, I plan to make some Chinese New Year cards with rabbit or bunny on it. Unfortunately, I do not have any of the stamp sets that contains rabbit or bunny. Thus, I been searching for it and been hopping from brand to brand while comparing prices.

Left : Studio G Series 29 VC0008 Girl and Boy Bunnies
Right : Studio G Series 29 VC0008 It's Easter
Finally I selected my stamp sets which is from Studio G Series 29 (as shown in above picture). Although it is old series and about Easter, all I want is the rabbit images. So, I asked Debbie from Crafty Heart if she able to get them for me. Initially, she is fine and even sourced out for me from another supplier of her. Unfortunately, she cannot get them for me when I re-confirm with her early of December 2010 as she has been re-locate back to her hometown due to her family issues.

Close-up : Studio G Series 29 VC0008 It's Easter
 Thus, I have to purchase these stamp sets on eBay by my own. The buyer I purchase from in eBay is known as Ottclectic Impressions which has been introduced to me by Sensible Pixie as well earlier. I must says the stamps he sells are cheap and including shipping, it is actually less than RM20 for two (2) sets! The shipping actually took about 10 days to arrive to my doorstep all the way from USA.

Close-up : Studio G Series 29 VC0008 Girl and Boy Bunnies
I really cannot wait what I wanted to make with these stamp sets! They are so many ideas in my head. I can use the girl and boy rabbits for wedding or love occasions. Not to mention that I can make Easter cards from it as its original design. Those eggs and flowers can be used in different occasions as well. So many to play with these two (2) sets!

Monday, December 20, 2010

Christmas Card with Circle Hole

Christmas card with circle hole - Front

Close-up : The circle hole
Since this time Simon Says Stamp challenge only allows silver, blue and white to be used on the project, I chosen shimmering silver cardstock as the card base. I created the circle hole on the top center of the silver card using Stampin' Up Round Tab punch.

Close-up : Snowflake background
On the bottom of the card, a light blue cardstock is trimmed according to the size of the card. Then, the snowflake image from Hero Arts CL461 Wishes Come True is stamped repeatedly on the light blue card with white ink.

Close-up : Message "Wishing you a warm and wonderful Christmas" in the blue circle
A 2" circle is trimmed from a blue cardstock. The message of "Wishing you a warm and wonderful Christmas" from Hero Arts CL461 Wishes Come True is stamped on the blue circle. A golden ribbon is attached to the blue card about half inches from the left edge. Then, the two (2) ends of the golden ribbon blue are slipped into the blue circle with punch tiny hole on the top. A bow is tied to secure the blue circle in place. The light blue card is then attached onto the lower portion of the silver card.
Close-up : The lower portion of the card

Close-up : Punched snowflake with gems
Punched snowflake images are attached to the top portion of the silver card to create a snowing effect. Clear gems are added to the center of each snowflake to create some shinning effect.

Close-up : Message inside the card
The big circle with Christmas tree stamp from Hero Arts CL461 Wishes Come True is stamped onto a white trimmed rectangular cardstock and colored the Christmas tree. The same stamp is stamped again on a green cardstock and the Christmas tree image is trimmed out and attached onto the white cardstock using pop dots. Some silver dots are added to the Christmas tree and on the dots on the white cardstock.
Close-up : Pop-up Christmas tree

Christmas card with circle hole - Inside 
The white card is attached into the inside of the silver card.

Theme : Christmas
Title : Wishing you a warm and wonderful Christmas
Size : 7.62cm x 15.24cm or 3" x 6"

If you would like to have a similar design of these items or individual item, please e-mail us at msgkeeper@gmail.com for order. Please do include the color or theme you prefer, purpose of the item(s) (farewell, retirement, birthday and etc) and message (if any).

This card is entering the challenge(s) organized by :

Christmas Card with a Mini Card or Tag or Ornament and Hidden Message

Christmas card with tag inserted - Front
Made this card for a best friend and would like her to have some surprise when receiving this card. Thus, I made this card with a pull out mini card/tag/ornament and a hidden message.
Close-up : Top portion of the card
A kraft cardstock is used as the base. A purple cardstock is used as the top layering whereby a 'pocket' is created using acetate. Before the acetate is dead attached to purple layer card, the message of "Wishing you a warm and wonderful Christmas" from Hero Arts CL461 Wishes Come True is stamped. 
Close-up : Christmas card with pulled out tag and hidden message

Close-up : Punched snowflake with gems
Punched snowflake images are attached to the purple layer card to create a snowing effect. Clear gems are added to the center of each snowflake to create some shinning effect.

Close-up : Lower portion of the card
Red based with white dots patterned paper from Moof is trimmed according to size. The right edge is scalloped to give some design. White ribbon with scalloped edges on both size is used to layer between the purple layer card and the patterned paper before attach onto the kraft card.

Close-up : Mini card or tag or ornament
The mini card, tag or an ornament is adopting the earlier concept using another stamp from Hero Arts CL461 Wishes Come True.

Theme : Christmas
Title : Wishing you a warm and wonderful Christmas
Size : 12.7cm x 19.05cm or 5" x 7.5"

If you would like to have a similar design of these items or individual item, please e-mail us at msgkeeper@gmail.com for order. Please do include the color or theme you prefer, purpose of the item(s) (farewell, retirement, birthday and etc) and message (if any).

This card is entering the challenge(s) organized by :

Saturday, December 18, 2010

Christmas Mini Card, Tag or Ornament

Sample in red
This can be either mini card, tag or an ornament for the Christmas tree. Well, it serves many purposes and it can used in either ways as well. ;)

Sample in blue
Color base card (either red, blue or green for Christmas feel or you could customize your color selection) is trimmed into 3" diameter circle. Two (2) white base circles of 2.5" diameter are trimmed. One of the white circle is stamped with Hero Arts CL461 Wishes Come True stamp and colored the tree with marker. While another white circle is stamped with message "Merry Christmas" in the middle of the circle from the same stamp set.

The hanging effect of an ornament is created using Stampin' Up Rounded Tab Punch by punching the shape into a silver cardstock. Then it is folded over and attached onto the color base card. The white circles are attached respectively on the color circle on the front and back. Receiver name and sender signature and name can be written at the back white circle.

A tiny hole is punch on the top center of the folded silver tab and a silver string is tied to the hole to provide hanging conveniences.

Theme : Christmas
Title : Merry Christmas
Code : CH#001
Size : 7.62cm x 7.62cm circle or 3" x 3" circle
Price : RM0.50 per piece (excluded shipping fees)
*Discount or extra piece can be given for bulk order depends on order quantities
**Base color card and ribbon can be chosen and sample can be made for viewing before ordering
***Mixture of colors are allowed and message can be either "Merry Christmas" or "Season's Greetings"


Please e-mail to msgkeeper@gmail.com for order by quoting the card code above and your desired order quantities.

Sunday, December 12, 2010

Wedding Wishes Card #5 (Sample)

Wedding Wishes card #5 - Front
Made this card for a Malay colleague wedding. It is inspirations from her wedding invitation card as well which themed white


Three (3) times folded
It is a three (3) times folded card. A white based patterned card is used as the base. The first layer of the card is trimmed curvy right side so that it reveal the second layer right side.
Curvy first layer

Close-up : "A Wedding Day Wish" message
A printed message of "A Wedding Day Wish" from Moof MPPA4032 patterned paper is trimmed. Then, it is attach onto the left upper corner of the first layer using pop dots.

Close-up : Silver ribbon with hearts finishing on the curvy line
The curvy line is finished by attaching silver ribbon with hearts finishing on both side along the curve.

Close-up : The wedding couple, pink heart and "For the Bride and Groom" message
The couple image of groom and bride are trimmed from a gift wrapper. Then, it is attached on to the bottom right side of the second layer. Another printed message of "For the Bride and Groom" is taken from the same Moof MPPA4032 patterned paper which then attached to the bottom of the image. A pink heart is attached in between the couple, slightly above the couple's head using pop dots which give some dimension.

Close-up : "Recipe for a Happy Marriage"
Inside the card, printed a patterned white card, it is printed with "Recipe for a Happy Marriage" as below. The four (4) edges of the paper are scalloped.

Recipe For A Happy Marriage Poem
Ingredients:
4 cups of Love
2 cups of Loyalty
Dash of Faith
3 cups of Kindness
4 cups of Understanding
1 cup of Friendship
5 spoonfuls of Hope
1 barrel of Laughter
Pinch of Forgiveness (no substitutions)
Dash of Thoughtfulness (not optional)

Methods:
1. Take love and loyalty and mix thoroughly with faith.
2. Blend in kindness and understanding, add friendship and hope.
3. Sprinkle abundantly with laughter. Garnish with forgiveness and thoughtfulness.
4. Bake with sunshine.
5. Serve daily with generous helpings.

Theme : White
Title : A Wedding Day Wish for the Bride and Groom
Size : 10.16cm x 21.08cm or 4" x 8.3"

If you would like to have a similar design of these items or individual item, please e-mail us at msgkeeper@gmail.com for order. Please do include the color or theme you prefer, purpose of the item(s) (farewell, retirement, birthday and etc) and message (if any).

Thursday, December 02, 2010

Prairie Fairy Designs Spread the Word Candy Alert

Prairie Fairy Designs would like to announce that they moved back to blogspot for their challenge blog and to spread the news, they are offering a candy as shown below. Please head over to their blog at http://www.prairiefairy.blogspot.com/ to join the candy.

Thursday, November 25, 2010

Thanksgiving Set

Happy Thanksgiving!

Set of four Thanksgiving stationeries
In conjunction to this festive season, I made a set of thanksgiving stationeries as above using Hero Arts Digital Thanksgiving Table Decoration. It is fun as this is my first time made a set of stationeries using the same designs. This is my first time to use digital and doing hybrid.


1) Tag or Bookmark
I made a tag or bookmark as I think it would be great to pass to children and kids who is studying.
Close-up : Thanksgiving tag


2) Table or Name Place Card
I did this as suggested by Shari Carroll in Hero Arts blog.
Close-up : Thanksgiving table or name place card

3) Card
I did this card thinking that it would be nice to give family and friends for a memorable thanksgiving dinner and thanks them for coming or joining the dinner.
Close-up : Thanksgiving card

4) Foods Topper
This is the special item I made. It is a foods topper especially for the turkey or any meat dishes. Imagining this topper on the foods. Wouldn't be a very good feel of thanksgiving? :)
Close-up : Thanksgiving foods topper

I used the wood stamp design from Hero Arts CL266 Mix & Match Elements for the wood effects on the 'ribbon'.

Theme : Thanksgiving
Title : Happy Thanksgiving
Code : THX#001
Size : 
Tag : 8.89cm x 3.81cm or 3.5" x 1.5"
Place card : 7.62cm x 3.81cm or 3" x 1.5"
Card : 7.62cm x 7.62cm or 3" x 3"
Foods topper : 5.84cm x 10.16cm or 2.3" x 4" (including stick)
Price : RM10 for four (4) items (excluded shipping fees)
*Individual item will be priced differently


If you would like to have a similar design of these items or individual item, please e-mail us at msgkeeper@gmail.com for order. Please do include the color or theme you prefer, purpose of the item(s) (farewell, retirement, birthday and etc) and message (if any).


This card is entering the challenge(s) organized by :
1) Hero Arts November Challenge - Gift Tags or Handmade Gifts

Sharing Some Giveaways Links

I just want to share some fabulous giveaways links and hope some of you can join in the fun.

First is Scrapcollector also known as Yenni Natalia birthday blog candy. Happy Birthday to her and it is her very first blog candy ever held. Do hop to her blog to support her and enter this giveaway. As you can see, there are a lots of fabulous stamp sets and other stuffs.
Scrapcollector blog candy

Second is Jenny's Wee Memories Scrappy Saturday Challenge blog candy. It is a HUGE giveaway and the photo below proof it all. This candy is to celebrate that her blog followers has reached 700 readers. Congratulations, Jenny! Jenny says that there will be two (2) winners which split the goodies! So, hop over to her blog now and become a follower and you are half way to have a chance to win the goodies! Did I mention that recently she added some additional stuffs to the candy as her followers reached 800+ readers?
Wee Memories blog candy