Showing posts with label For Sale. Show all posts

Sunday, May 08, 2022

Dandelion Thanks

Dandelion Thanks
Teacher's Day is coming and thus I made some thank you cards.

Freshly Made Sketches #534 - A Sketch by Cécile
I am adopting the sketch from Freshly Made Sketches #534 - A Sketch by Cécile as shown above where I made one horizontal and one vertical card using the same sketch.

Dandelion Thanks - horizontal design (original sketch)
The dandelion image is stamped onto an inverted corner rectangle of white cardstock at the position shown on the sketch.

Dandelion Thanks - vertical design
The word 'thanks' is die-cut from white cardstock and flower background pattern paper. The white die-cut is stacked-up twice and finished off with the pattern paper die-cut. This is following Jennifer McGuire's style of creating dimension which is also good in using up those scraps. The inverted corner panel is attached to the green card base.

Close-up: Sparkled dandelion
The card is finished by adding some glitter to the word 'thanks' and dandelion to make them sparkle and shine.
Close-up: Sparkled 'Thanks'

This card is entering the challenge(s) organized by:
4) CASology - Week #403 - Botanical (ends by 6 June 2022)

Supplies used:
Stamp used:
1) Papercraft Essentials Issue 120 All-occasion Stencil and Stamp Freebies

Dies used:
1) Taylored Expressions (TE) Thanks
2) Unbranded Inverted Corner Rectangles

Sunday, February 13, 2022

Cupcake Wishing You the Best Birthday Ever!

Cupcake Wishing You the Best Birthday Ever! 
Initially, I plan to make some thank you or hello cards as I do not have these on my stash. But after seeing the Fusion Card Challenge - Valentine Cupcake challenge, I decided to use my long forgotten cupcake image. However, instead of Valentine's, I prefer birthday sentiment since tomorrow will be Valentine's Day and I do not need one now.
Fusion Card Challenge - Valentine Cupcake

Cupcake Wishing You the Best Birthday Ever! - Original Sketch 
First, stitched circles are die cut from white cards stock and stamped with the cupcake image. They are then colored using Copic markers.

Close-up: The sentiment - mirror sketch
Two (2) strips are trimmed from yellow cards stock for the sentiment. Four (4) thin strips are trimmed from dark purple leftover card stock. The sentiment stamped onto the yellow strips with one on the far left and another on the far right. When assembled, these cards will mirror each other. The yellow strips are attached to a blue and red card base. The purple stripes are attached above and below the yellow stripe to make it stand out.

Cupcake Wishing You the Best Birthday Ever! - Mirror Sketch
The cupcake images are attached to the card base as in the sketch, with one as original position as a sketch and another one as the mirror image. They are attached to the card base using foam for some dimensional instead of a flat card.

Close-up: The glitter on the hearts topping - original sketch
Finally, some glitters are applied to the hearts topping as no birthday should be celebrated without glitter, right? :)
Close-up: The glitter on the hearts topping - mirror sketch

This card is entering the challenge(s) organized by:
1) Fusion Card Challenge - Valentine Cupcake (ends by 16 February 2022)
2) Seize the Birthday #231 - Sparkle and Shine (ends by 15 February 2022)
4) Tic Tac Toe Challenge - TTTC148 - I choose heart, free, and stitching  (ends by 17 February 2022)
Supplies used:
Stamps used:
1) Hero Arts CG151 Happy Birthday Cupcakes
2) My Creative Time Wow So Many Candles

Dies used:
1) Unbranded Stitched Circles

Sunday, June 27, 2021

Sunflower Wishing You A Birthday Filled with Sunshine

Sunflower Wishing You A Birthday Filled with Sunshine
Made two (2) bright and sunny birthday cards today as inspired by Addicted to CAS - Challenge #200 - Sun and AAA Birthday - June Challenge #26 - Flowers which prompted me to use the sunflower as the focal image.
Addicted to CAS - Challenge #200 - Sun
AAA Birthday - June Challenge #26 - Flowers

Sunflower Wishing You A Birthday Filled with Sunshine - side by side
For these cards, I am using Jennifer McGuire's split card technique whereby you trim your one (1) image into two (2) to make two (2) cards at once. I even thought about what I should make with the little strip with some stamped petals on it. Well, that can wait for the latter.

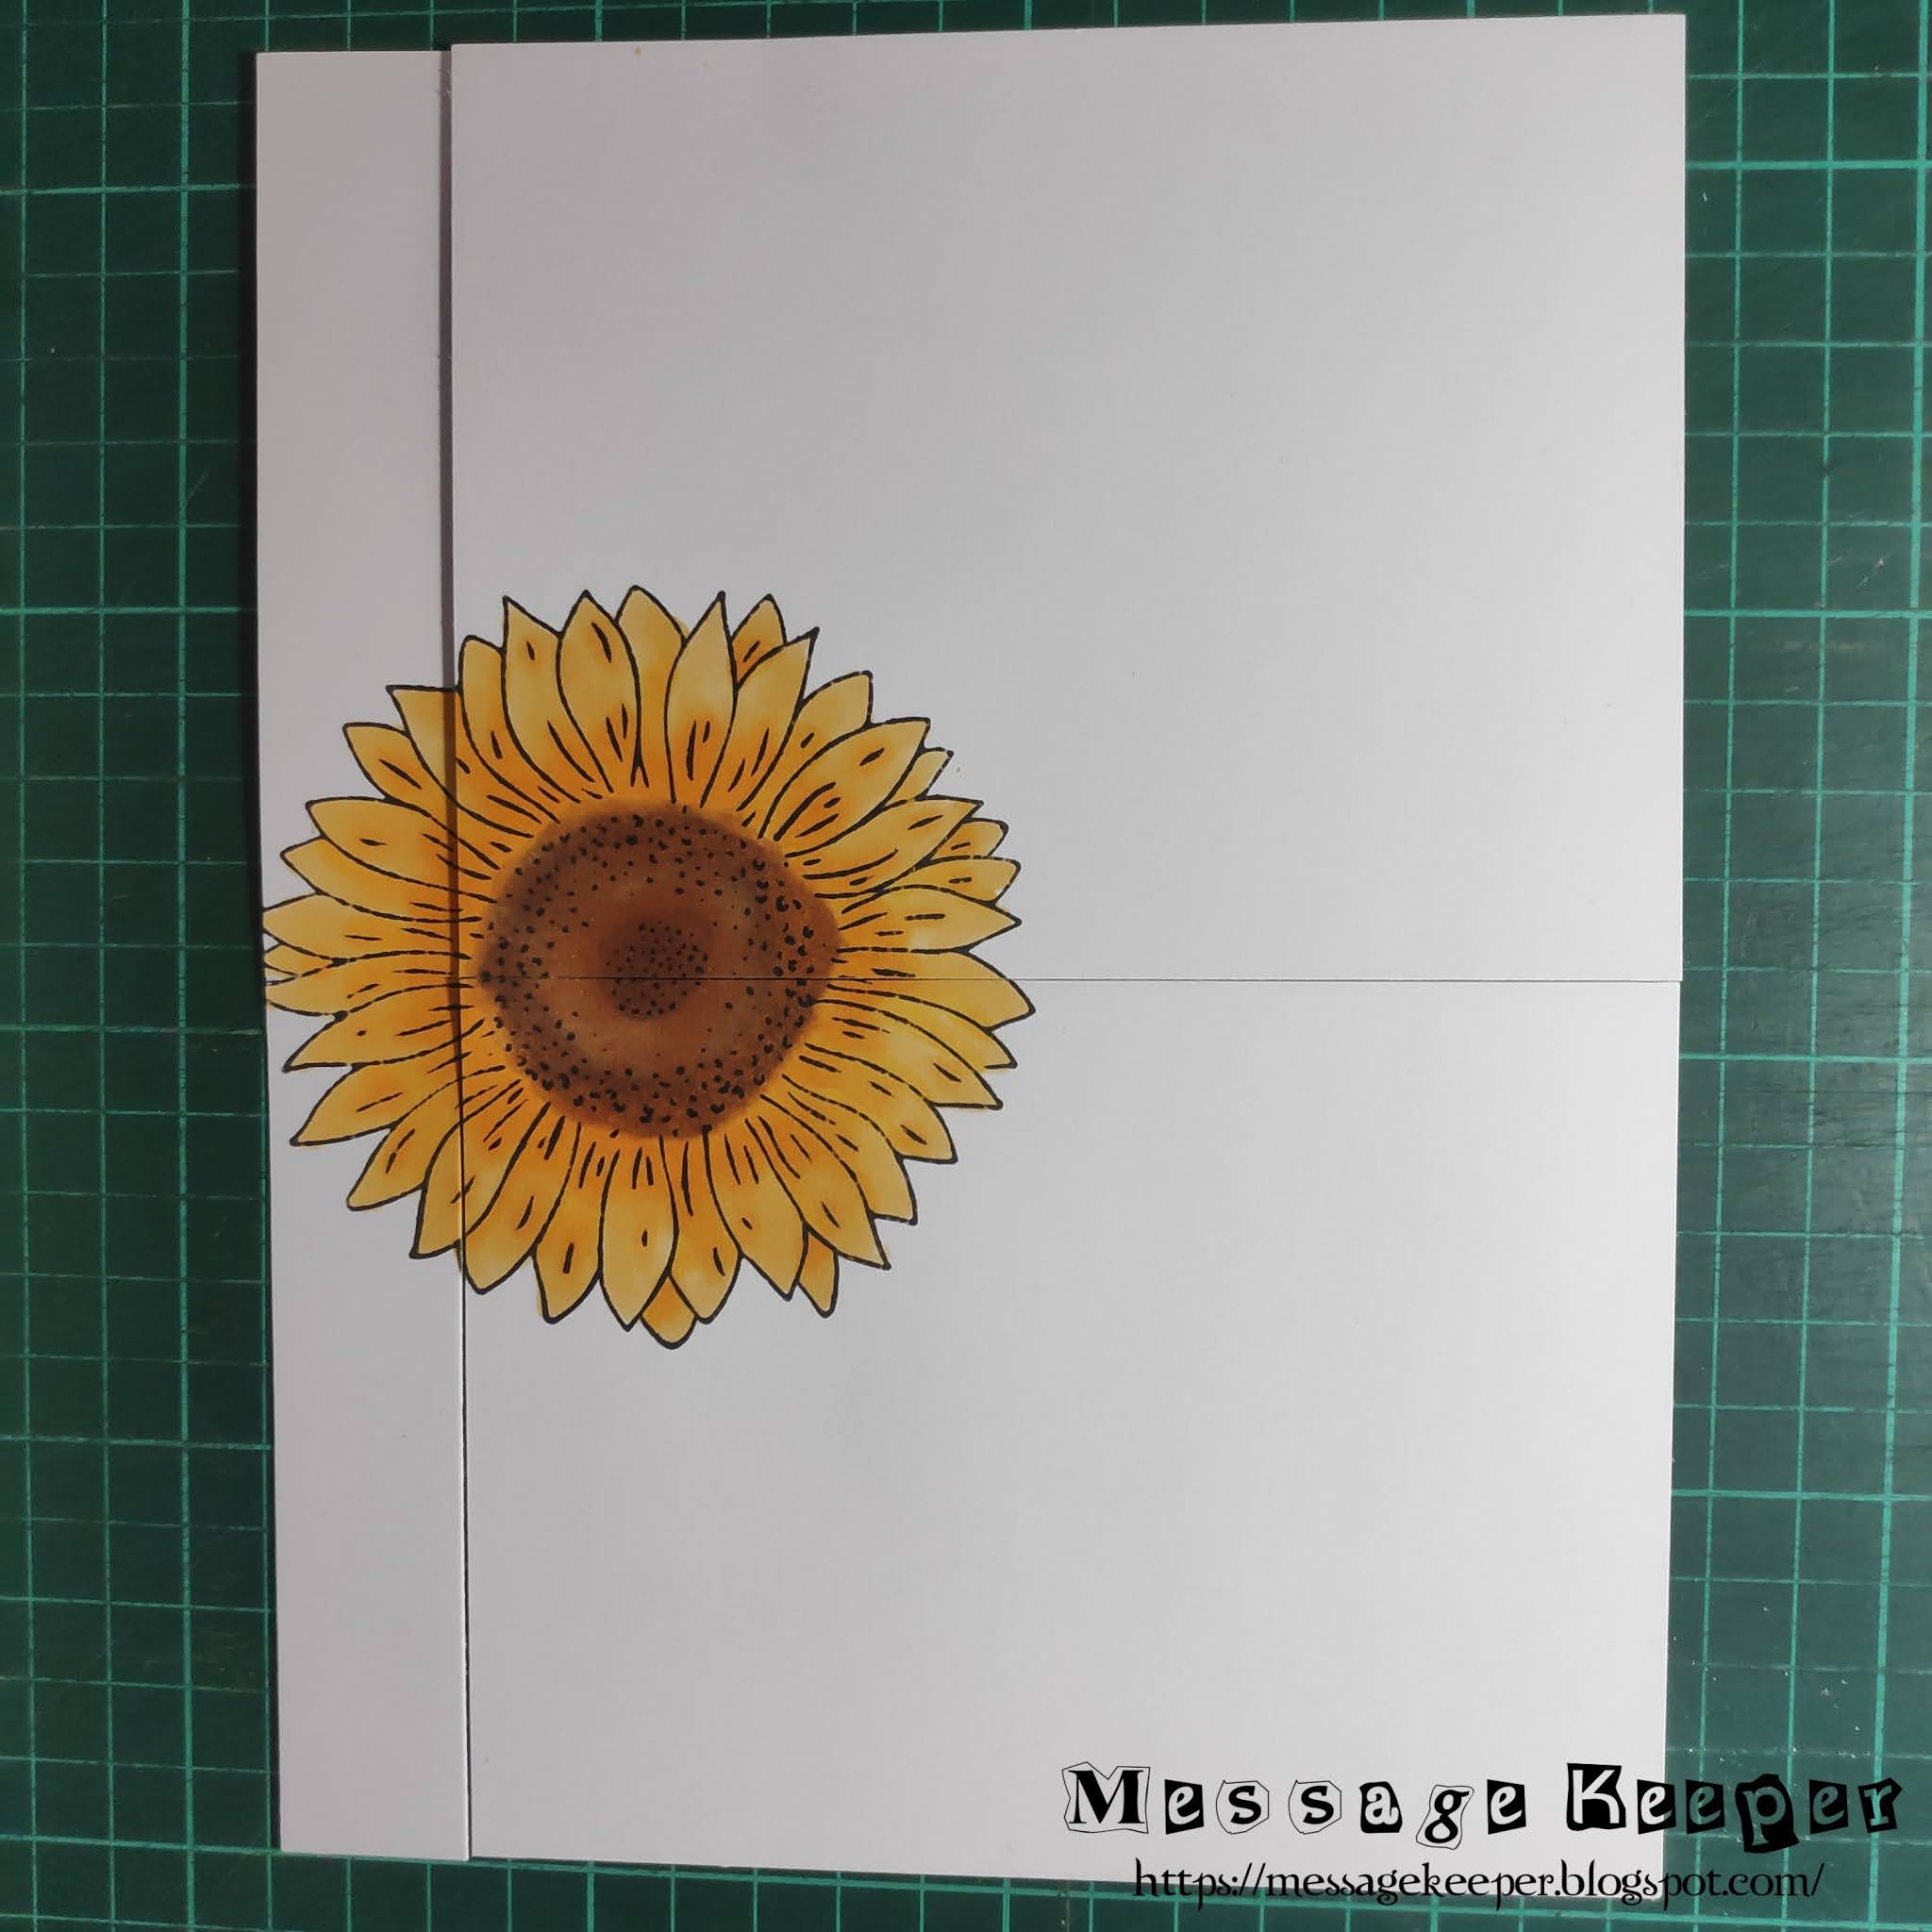
Split sunflower into three (3) section
The sunflower is stamped on a bigger-sized cardstock so that the split card technique can be applied. After colored using Copic markers. The image is trimmed as shown in the photo above. I got two (2) 4.25" x 5.5" and a 1" strip.

Sunflower Wishing You A Birthday Filled with Sunshine - vertical design
The sentiment is added curly to match the sunflower shape as I want corner-designed cards. Then, they are attached to the yellow card base.
Sunflower Wishing You A Birthday Filled with Sunshine - horizontal design

Close-up: Glitter on the petals
The card is finished by adding some glitter onto the petals to make them sparkle and shine. That is what a birthday card should be, sparkling and shining.
Close-up: Glitter on the petals

This card is entering the challenge(s) organized by:
1) Addicted to CAS - Challenge #200 - Sun (ends by 3 July 2021)
3) Di's Digi Challenge - Summertime (ends by 9 July 2021)

Supplies used:
Stamps used:
1) Unbranded Sunflower
2) Simon Says Stamp Magical Birthday (for the sentiment)

Sunday, March 29, 2020

Monster Birthday Cards

Monster Birthday Cards
I am back today to make some cards especially during this Restricted Movement Control/Movement Control Order (RMO/MCO) period. It will be waste of time if I do not use these times for some cards making to  replenish my cards supply!

MFT Wednesday Sketch Challenge - Sketch 482 (MFTWSC482)
I am adopting the sketch from MFT Wednesday Sketch Challenge - Sketch 482 (MFTWSC482) as shown above where one (1) card I make as horizontal and another one (1) as vertical.

Close-up: Monster Birthday Card - horizontal
Few monsters and the space ship are stamps onto white cardstock and colored using Copic markers. One of the monster, I gave it some black spots using Copic Multi Liner by drawing small black spots all over its body and it looks like a cookie monster which it really look like one after I done giving it some black spots😛. Once done, they are die cut with matching dies.

Close-up: Monster Birthday Card - vertical
On a purple and blue metallic cardstock, the sentiments are stamped and heat embossed using white embossing powder. Then they are adhered onto a blue card bases. The monsters and space ships are adhered on to the panel using foam tape to give some dimension.

Close-up: Googly eyes and shimmering on monster eye and tentacles
Googly eyes are attached onto each of the monsters' eyes to give it some playful and funny feelings.

Close-up: Shimmering on the monster body and space ship window 
Finally, some shimmers are applied to the green single eyed monster's eye white, purple monsters' tentacles, cookies monster's body and the space ship windows.


This card is entering the challenge(s) organized by:

2) CAS on Friday - Challenge #176 - Birthday (ends by 01 April 2020)


Supplies used:
Copic markers used: B02, BV04, BV13, BV17E00, E31, E50, R20, R29, R35, W1, W3, W5, YG03, YG13 and YG17
Stamps used: Clearly Besotted Stamps Out of This World and unbranded stamp set

Saturday, August 24, 2013

Carnival Birthday!

Carnival Birthday!
I was really inspired by Curtain Call Inspiration Challenge - Carnival Craze as shown below. Thus, I wanted to make a birthday themed carnival card. Since I do not have much carnival stamp, except the digital freebie stamp from The Alley Way Stamps (TAWS), I stretch most of my stash for this card! :P
Curtain Call Inspiration Challenge - Carnival Craze

Bearly Mine Challenge #100 - Monthly Sketch
I adopt a bit complicated sketch this time from Bearly Mine Challenge #100 - Monthly Sketch as shown above as I would like to incorporate as much 'carnival' items into my card. I turned the sketch in 180 degree to suit my self-made embellishment as explained below.

Close-up : Stamped background panels
For the three (3) background panels, three (3) yellow card stock are trimmed accordingly. Then, the balloon are stamped repeatedly onto the background panels using yellow ink - tone-on-tone technique. I choose balloons as balloons always appear in carnival! The background panels are attached onto a green card base as in sketch.

Close-up : Banners
Well, banners also appear in carnival and I do not feel the atmosphere of carnival if there are no banners hanging above my head! Thus, I made a banner cord with colorful banners on it! It is attached to the center of the background panels as in sketch.

Close-up : Carnival tent
There would not be carnival without the carnival tent! Here, I use the free circus tent from The Alley Way Stamps (TAWS). I colored the tent using bright and cheerful colors of red, yellow and blue of my Copic markers. In fact, this card colors combination are based almost on these three (3) colors. I distress the edge of the circle with blue on the upper part and brown on the lower part to mimic the sky and ground. It is attached onto the card using pop-dots.

Close-up : Balloons as embellishment
Two (2) bigger balloons are stamped on white card stock and colored using Copic markers. They are trimmed accordingly before attached onto the upper right of the card as in sketch using pop-dots. Some yellow-white twine are used for the balloons' string. This is the self-made embellishment informed earlier.

Close-up : Sentiment
Lastly, is the sentiment. It is stamped on an orange card stock and trimmed rectangular. I choose a brighter and sharping color background for the sentiment as I want it to stand out from the card. It is attached onto the card upper left using pop-dots.

Dimension : 10.16cm x 15.24cm or 4" x 6"
Type : Horizontal fold
Inlay : None

Code : BW#013 (Please click here for order form)
Price : RM7.90 per piece (excluded shipping fees)

If you would like to have a similar design of these items or individual item, please fill up the custom order form here. Please do include the color or theme you prefer, purpose of the item(s) (farewell, retirement, birthday and etc) and message (if any).

This card is entering the challenge(s) organized by :
2) Bearly Mine Challenge #100 - Monthly Sketch (ends on 26 August 2013)

Stamps and tools used :