Showing posts with label Masking. Show all posts

Wednesday, August 31, 2016

Shine Brightly for Mid-Autumn Festival

Shine Brightly for Mid-Autumn Festival
I am continuing my Mid-Autumn Festival cards and here are the addition to my pile. :P

Tuesday Morning Sketches #367
For this card, I am adopting Tuesday Morning Sketches #367 as shown above. I am making two (2) cards out of one sketch again as I find it more fulfilling since I have pulled out my supplies and not to mention that I have extra stocks while saving some times. I decided to rotate the sketch to clockwise so that I can hang my lanterns as in the sketch. For the second card, I just alternate the lanterns arrangement and its coloring.

Close-up: Shine Brightly for Mid-Autumn Festival #1
The lanterns are stamped repeatedly and alternately as in sketch on a white card stock. Then, the lanterns are colored using Copic markers.

Close-up: Shine Brightly for Mid-Autumn Festival #2
The background is distressed using blending inks to mimic a night sky. Before the background is distressed with blending inks, matching masking are put on top of each of the lanterns. Then, a circular yellow blotch is applied onto each of the lanterns to mimic the shine rays from the lanterns. The scene is then attached onto a green card base.

Close-up: Sentiment
The sentiment is stamped onto a strip that mimic the night sky and trimmed uneven angle on right end. It is attached onto the card bottom using foam tape.

Close-up: Shimmering lanterns
As final touch, some shimmers are added to each of the lanterns and its outer rims to mimic the shine rays.

Dimension : 3.25" x 6"
Type : Horizontal fold
Inlay : None

This card is entering the challenge(s) organized by :
1) Tuesday Morning Sketches #367 (ends by 05 September 2016)

Supplies used:
Copic markers used: B04, B28, BG01, BG45, BV02, G07, R83, RV14, V06, Y13, Y18, YG13, YR15, YR16 and YR32

Sunday, September 21, 2014

Flowers of Many Thanks

Flowers of Many Thanks
Made this card for my Copic markers buyer who bought the Copic markers for the 16 years old daughter. What great mum!

Fusion Card Challenge - Shiny Pink
I decided to use the sketch from Fusion Card Challenge - Shiny Pink as shown above. I was inspired to use flowers on my card by Just Add Ink #232 - Inspiration Challenge! photo as shown below.
Just Add Ink #232 - Inspiration Challenge!

Close-up : Flowers panel
The flowers are stamped onto a white card stock using masking technique. Then, they are colored using Copic markers. I try to mimic the colors in the inspiration photo. The flowers panel is attached onto a green card base.

Close-up : Sentiment and button embellishment
A yellow both side fish tail banner is trimmed and sentiment is stamped. It is later attached onto the card base as the sketch. The card is finished off with a button tied with grey-white twine to the center as embellishment. The button is attached onto the card on the left side of the banner as in sketch.

Dimension : 10.16cm x 15.24cm or 4" x 6"
Type : Vertical fold
Inlay : None

If you would like to have a similar design of these items or individual item, please fill up the custom order form here. Please do include the color or theme you prefer, purpose of the item(s) (farewell, retirement, birthday and etc) and message (if any).

This card is entering the challenge(s) organized by :
1) Fusion Card Challenge - Shiny Pink (ending 24 September 2014)
2) Just Add Ink #232 - Inspiration Challenge! (ending 24 September 2014)

Stamps and tools used :
Copic markers : 0 - Colorless Blender, BG07, BG23, G17, R02, R29, RV04, V04, Y06, YG03, YR02, YR07 and YR15

Sunday, March 16, 2014

Believe In Your Dreams

Believe In Your Dreams
Made this card for a colleague who is leaving end of the month due to 'organization restructure'. I made this card a bit earlier as I want our direct manager (who is retiring this Tuesday) to pen down some messages for her as well.

Fusion Card Challenge #6
I decided to play with Fusion Card Challenge #6 as shown above. I use both the sketch and photo inspiration whereby the photo inspiration has given me idea to use flower and incorporate green in my card.

Close-up : Masking stamping of the flowers and leaves
I found a matching flower pattern paper to the flower stamp I want to use. After some masking stamping to the flowers and leaves, I match the coloring of the stamped flower to the pattern paper as well. The bottom of the scene (flowers) is distressed with some orange color to mimic garden of flowers. While the top of the scene (sky) is distressed in blue to mimic the sky.

Close-up : Layer of mats
The scene is attached onto a green card stock which later onto the matching flower pattern paper. Finally, it is attached onto a pink card base.

Close-up : Shinning butterfly wing
The butterfly wings are stamped on a separate white card stock and colored using Copic markers before it is trimmed. Some glossy accents are added to it before it is attached to the scene using pop dots.

Close-up : Three pink gems
As final touch, three pink gems are added to the ending sentiment for some blings.

Dimension : 13.97cm x 13.97cm or 5.5" x 5.5"
Type : Horizontal fold
Inlay : None

If you would like to have a similar design of these items or individual item, please fill up the custom order form here. Please do include the color or theme you prefer, purpose of the item(s) (farewell, retirement, birthday and etc) and message (if any).

This card is entering the challenge(s) organized by :
1) Fusion Card Challenge #6 (ends on 20 March 2014)
3) Natalie and Amy's Challenge - #18 Flowers (ends on 29 March 2014)

Stamps and tools used :

Sunday, December 16, 2012

Ants Trailing of Thanks

Ants Trailing of Thanks
Made this card for some of my Copic markers buyers who uses Copic markers in their arts.


CAS(E) This Sketch Challenge #9
I adopt the the simple sketch from CAS(E) This Sketch Challenge #9 as shown above. I keep the design simple as the challenge need me to make a card clean and simple (CAS) to be eligible.

Close-up : The ants trails
The ants trails are stamped accordingly as in sketch in black ink. At the end of each ants trails, a single ant is stamped in red ink which take the role of the ants trail's leader. The different length of ants trails really match to the sentiment I have in mind! The different length of ants trails also give an idea of the ants rushing or competing with each other trail!

Close-up : The amended sentiment
The sentiment of 'sending love you way' is used here but the 'love' is masked off. Instead, the 'love' is replaced with 'thanks'. The 'thanks' is purposely stamped in red ink to highlight the purpose of this card.

Dimension : 10.16cm x 15.24cm or 4" x 6"
Type : Horizontal fold
Inlay : None

If you would like to have a similar design of these items or individual item, please fill up the custom order form here. Please do include the color or theme you prefer, purpose of the item(s) (farewell, retirement, birthday and etc) and message (if any).

This card is entering the challenge(s) organized by :
1) CAS(E) This Sketch Challenge #9 (ending 18 December 2012)
2) Bearly Mine Challenge #65 - Anything Goes (ending 17 December 2012)

Stamps and tools used :

Tuesday, October 30, 2012

Bee Happy Wedding Wishes

Bee Happy Wedding Wishes - Front
Made this card for my Indian ex-colleague whose wedding dinner reception is on this Sunday. I am so happy that she finally tying the knot with someone she loves!

MFT Wednesday Stamp Club Challenge #95 (MFTWSC95)
This card layout is inspirational from MFT Wednesday Stamp Club Challenge #95 (MFTWSC95) sketch/challenge as shown above. I decided to turn the sketch 180 degree so that I could use the sun as the embellishment as shown in the sketch.

Close-up : The scene
I started off with a white card stock whereby I stamp the bees, flowers and clouds to make a scene. As it is white in background, I need to mask all the images to distress the white background to the sky color. Later, all the images are colored using Copic markers.

Close-up : Sentiment
A red strip is trimmed from some red card stock. The left and right edges are stamped with a border that similar to stitching. On gold card base, a pattern paper that full of hearts is attached follow by the red strip. The colored scene is attached onto the red strip and pattern paper as shown in the sketch. After the scene is attached, the sentiment is stamped. The sentiment is not stamped earlier (before the scene attaching) is due to that I want the sentiment to be aligned to the scene position. Then, a stamped cut out butterfly is placed on the sentiment.

Close-up : The pop-up sun
The sun is stamped on a yellow card stock and trimmed. It is then attached using pop dot to the left top corner of the scene as in sketch.

Close-up : Gems for the flowers' pollen
The pollen of the flowers are added with gems to give some dimension and sparkle. The small flowers' pollen are added with one (1) big gem while the big flower's pollen is made up by few smaller gems.

Close-up : The male bee
Some gems are added to bees' antennas as well. Two (2) heart shaped gems are added to the above of the bees to mimic they are in love. Some glossy accent are added to the wings of the bees to make it sparkle.
Close-up : The female bee

Bee Happy Wedding Wishes - Inside
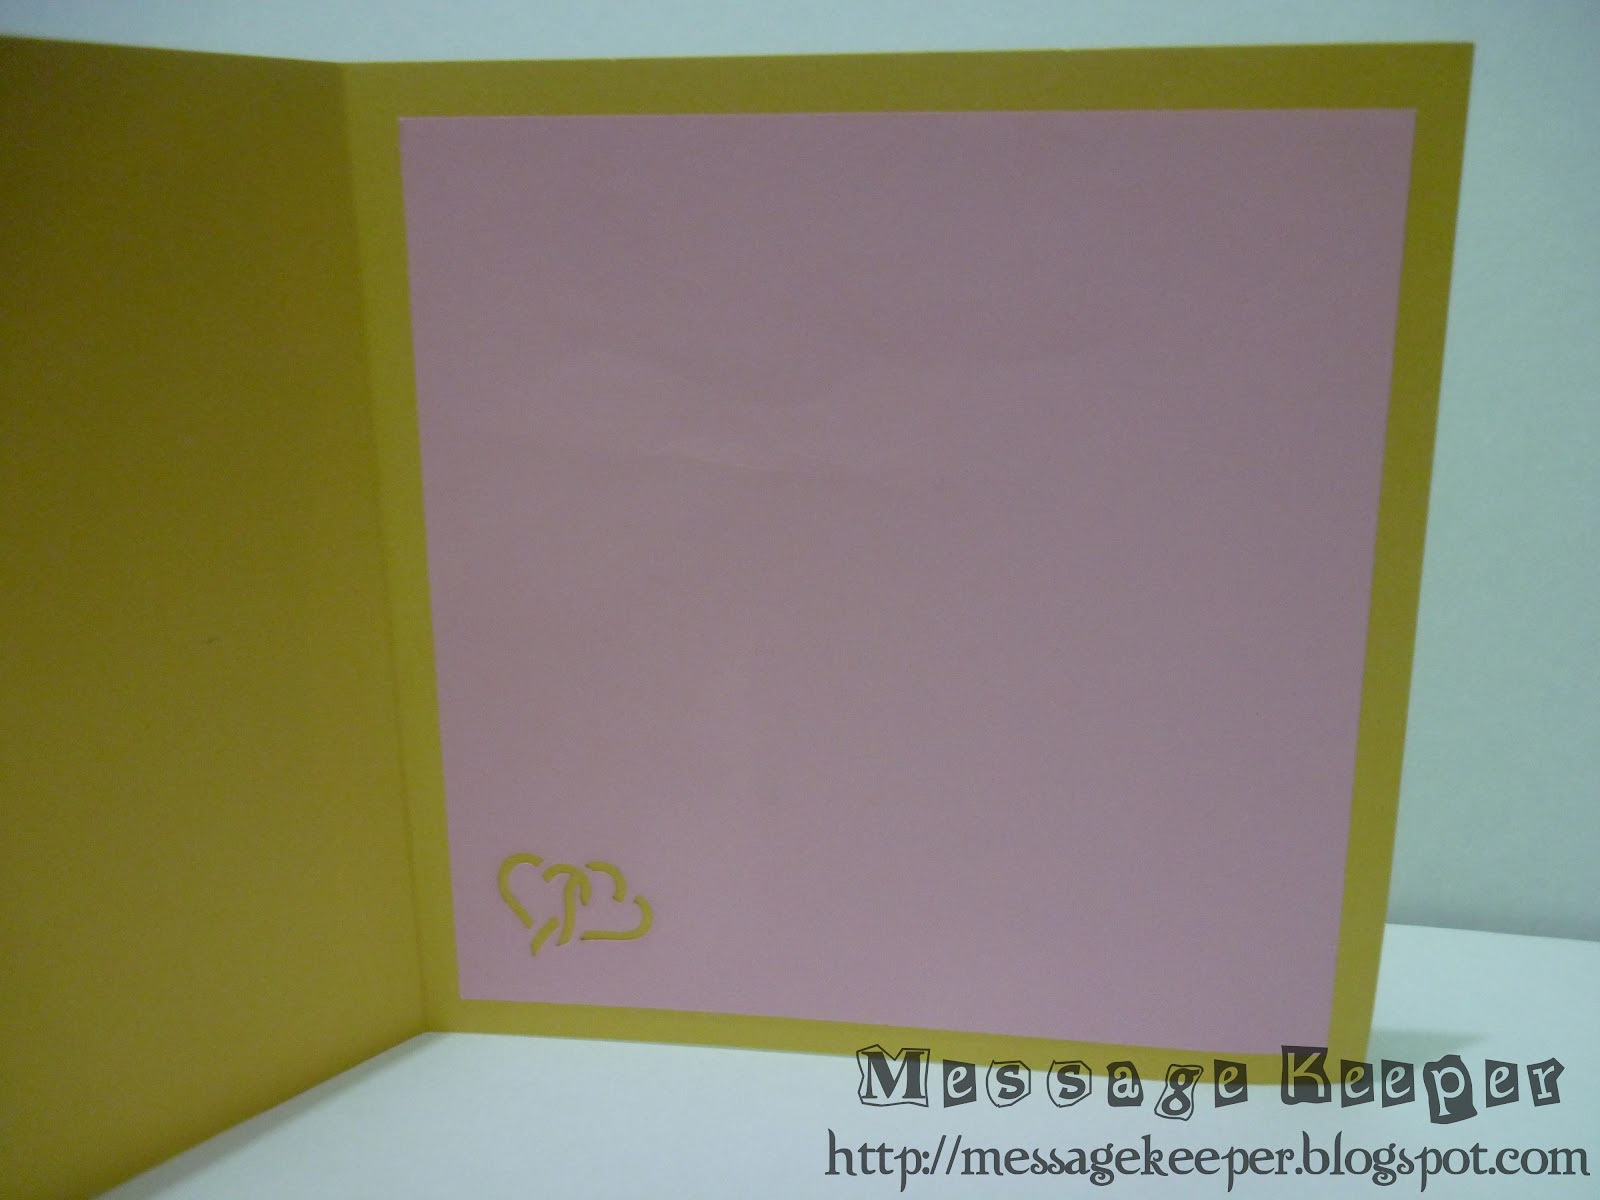
Inside the card, it is layer with a pink inlay with punched image of intertwine hearts on the left bottom corner.

Dimension : 13.97cm x 13.97cm or 5.5" x 5.5"
Type : Horizontal fold
Inlay : Yes with punched image

If you would like to have a similar design of these items or individual item, please fill up the custom order form here. Please do include the color or theme you prefer, purpose of the item(s) (farewell, retirement, birthday and etc) and message (if any).

This card is entering the challenge(s) organized by :

Stamps and tools used :